Este tutorial está solo en inglés.
Optimize Fonts for the Web with FontForge
How to optimize a font for the web with FontForge. I'm going to remove symbols that I'm never going to use from the font and then I'm going to save it as a .woff file. The specific font I used became over 90% smaller.
Official FontForge DownloadsIf you find the tutorial helpful, consider leaving me a tip or buying one of my apps or games.
Video Tutorial
Text Tutorial
- First open a normal font file in FontForge such as a .otf or .ttf file.
Remove Unwanted Characters
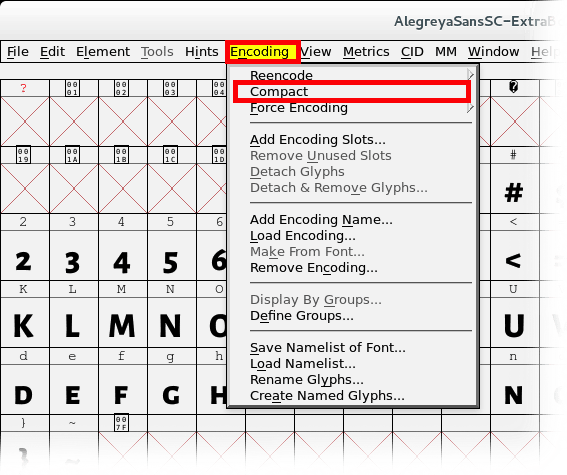
- Once you have a font open, you'll see that FontForge displays a lot of empty characters that are not used in the font. To hide them select the "Encoding" menu and then select "Compact".
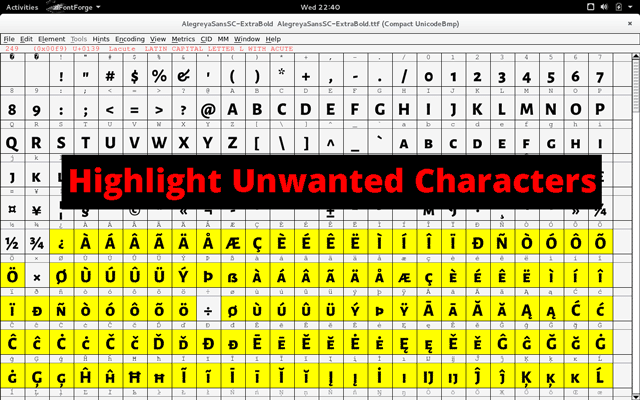
- Now start highlighting all the characters you'll never need in your website. Hold shift and drag with the left mouse button to highlight them.
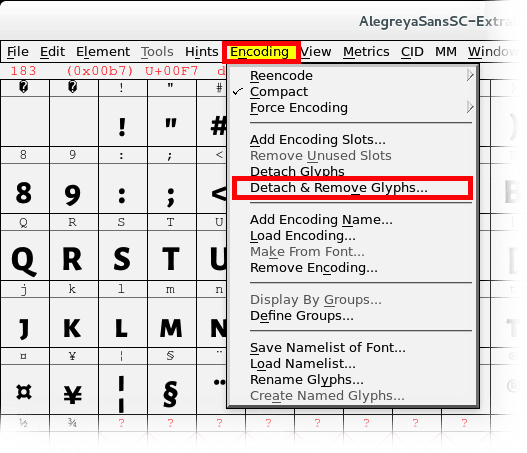
- To delete the highlighted characters select the "Encoding" menu again and then select "Detach & Remove Glyphs…". Select "Remove" on the dialog that asks if you're sure.
Save as .woff File
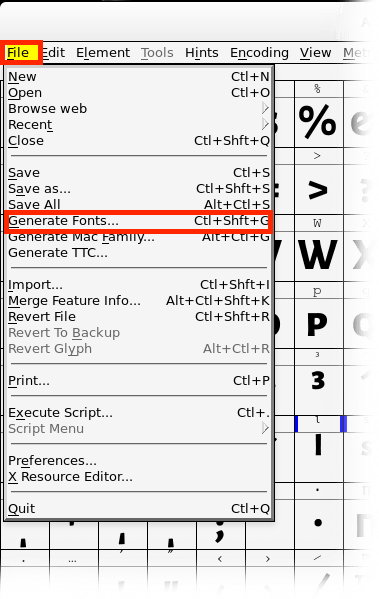
- To save the font as a .woff (Web Open Font Format) file select the "File" menu and then select "Generate Fonts…".
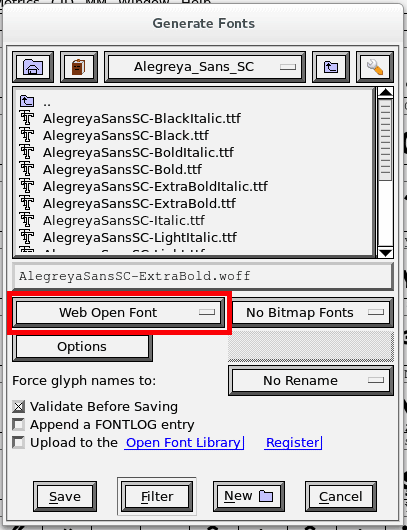
- Choose a location to save your font file and then select "Web Open Font" as the font format.
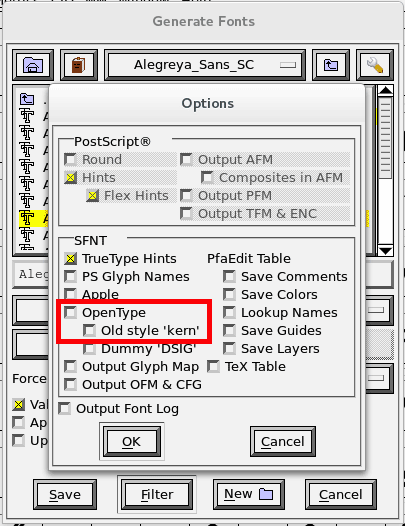
- (Optionally) Select the "Options" button and deselect "OpenType" and "Old style kern". This makes it a little smaller and it should still work in all the major browsers. Now select "Ok" to close the Options window.
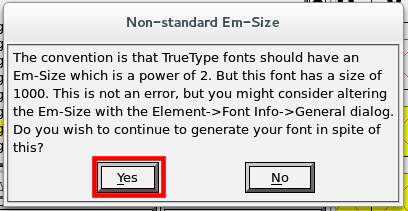
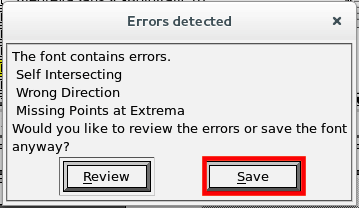
- Select "Save" or "Generate" to save the file. FontForge will show some error/warning dialogs, but you can dismiss them and it still produces a working .woff file.
- Now your font should be much smaller. I like to make a note above the font's license text that states that I converted the font to .woff and removed characters I didn't need.
